

Making changeover or cross switching smart with Homematic IP
- HANDYMAN Marius

- Sep 20, 2024
- 7 min read
Updated: Sep 24, 2024

Hey there, have you ever heard of cross or alternating switching? What is it and why should you make it smart with Homematic IP? A cross or alternating circuit is a circuit that allows you to switch a lamp or other electrical device on and off from at least two different places. Sounds practical, doesn't it? But have you ever wondered what it would be like to control this circuit from anywhere? Yes, even if you're nowhere near these switches or even your home. It's possible with Homematic IP!
Why should you do this? It's simple: you can make your home even more convenient and energy-efficient with a smart cross or changeover switch. You can operate this switch remotely from anywhere, for example by voice control with Alexa, Google Assistant or via an app on your smartphone. This also means that you don't have to get up to switch the light on or off. And if you forget to switch the light off, you can easily control it while you're out and about. But how does a cross or alternating switch actually work and how does it become smart? Find out in the following section.
Basics of cross or alternating switching
If you have ever switched the light on or off from two different switches, you are probably familiar with a two-way switch. A changeover switch is therefore used to switch a lamp from two different locations. It is also one of the most common circuits in a house, as there is often more than one place where the lighting needs to be switched on or off. In a conventional two-way circuit, the light is controlled by two switches from two different locations, but there is also the so-called cross circuit. With a cross circuit, the light can be controlled from at least three (or more) different switches. The cross circuit can therefore theoretically be extended with any number of switches, whereby there are always two changeover switches and at least one cross switch that serves as a connection between the changeover switches and is installed in the middle between them. For example, if you want to create a circuit with four switching points, you need two changeover switches and two cross switches in the middle, so the circuit always starts and ends with a changeover switch.
So although a cross or changeover switch is a practical and useful solution, it can be improved even further by making it smart with Homematic IP. But how does such a circuit work and how is it actually installed? To install a cross or changeover switch, you need two wires as a connection between each switch, these are called corresponding wires. The changeover switch is therefore connected with two corresponding wires and L or the switched light line, while the cross switch is connected with four wires, two of which always represent the connection to the next switch. The structure is usually simple, but the wiring can often be very complex. Fortunately, today we don't want to build a cross or changeover switch, but simply make an existing switch smart. However, before you start with the installation, you should make sure that you have the necessary knowledge and skills to carry out such a conversion.

Smart changeover switching with Homematic IP
So if you want to make an existing cross or changeover switch smart with Homematic IP, you first need to understand how a changeover switch works. I've already given you the basics to understand the function, but now let's delve a little deeper.
To make your cross or changeover switch smart, you need a few different components and, above all, a neutral conductor on the changeover switch to be replaced. As the Homematic IP actuator to be used (HmIP-BSM) does not have a battery and is supplied with mains voltage, it is essential to connect the neutral conductor (N). If you are not yet using Homematic IP, you will of course first need the Hm-IP access point, which we will not go into in detail in this article. As the centerpiece of your new smart lighting control system, you will need a Hm-IP Switch-Measure-Actuator (HmIP-BSM). Please don't be confused by outdated articles on the same topic, only one is actually required, which was actually different in the past. Before the switch-measure-actuator existed, all switches had to be exchanged to make a cross or alternating circuit smart.
But what can the HmIP-BSM do better? The answer to this question is actually very simple... it can measure. Thanks to its measuring function, it can not only record and save the power consumption, it can also recognize the current switching states of your existing cross or changeover switches. This is possible because the HmIP-BSM is connected not only to L and N but also to the two corresponding ones. What is particularly great is that you can then expand your existing circuit with any number of Hm-IP wall switches and distribute them to various locations in the apartment or house.
Once you have installed the components (more on this later), you need to configure them correctly and allow them to communicate with each other. The Homematic IP app is used for this to make all the necessary settings. If you would like to find out more about setting up in the app, simply read on or watch this video:
The integration of the toggle switch with the home automation system also allows you to create routines and automations to increase the comfort in your home. For example, you can create a routine to turn off all the lights when you leave the house. Making a changeover switch smart with Homematic IP therefore has many advantages, especially in terms of saving energy and increasing comfort in your home. Thanks to smart home technology, you can now easily control your light using voice control or an app on your smartphone or tablet. Manual operation via switches and buttons is of course still possible
The necessary components


Components for expansion with additional switches


Installation ...but how?
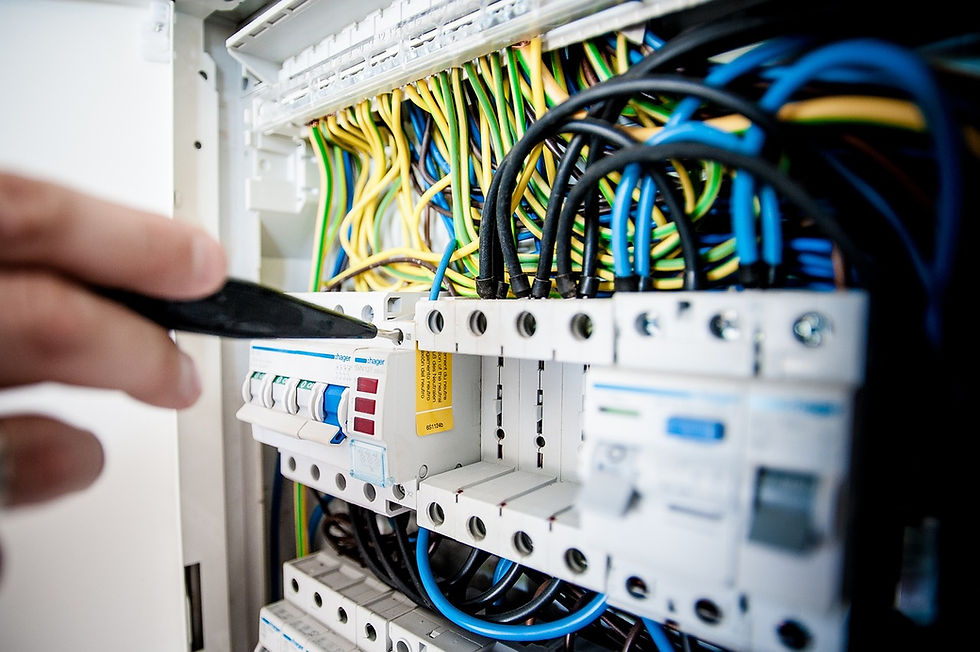
So you have decided to make your existing cross or changeover switch smart and would now like to find out how to install the Homematic IP components. Basically, installing the components is quite simple and quick. All you need is a screwdriver and a current tester. First, you should switch off the power supply to the changeover switch to avoid any risk of electric shock. Then look for the changeover switch that is fed in with phase L (power feed), as we need to replace this with our HmIP-BSM:

And that's how the connection should be made:

Homematic (eq3) also includes some simplified wiring diagrams with your HmIP-BSM delivery to make installation easier:


Installation and integration
Setup in the Homematic IP app
Now that you have installed everything and switched the power back on, you can use your cross or toggle switch again using the switch/button. However, in order to use the full potential of your smart switch, you still need to teach and configure your HmIP-BSM with the Hm-IP app. As Homematic IP is very intuitive, setting it up is child's play and can be done by anyone. So don't be afraid of the settings - it's worth it!
The first step is to open the Hm-IP app and select “More” at the bottom right, then select “Teach device”. Your app will now go into search mode and should find your switching/measuring actuator (HmIP-BSM) immediately. If there are any problems here, you can simply disconnect the power supply for a few seconds and reconnect it or simply press the button once, which should now put your HmIP-BSM back into teach-in mode.
As soon as the actuator has been found, the app will ask you to enter the last 4 digits of your device number or scan the QR code. You will find this number in various places in your delivery. Basically, all Hm-IP components always have a QR code directly on the device and also on the packaging and a sticker, which you will always find in the operating instructions. Now enter the last 4 digits and confirm your entry.

The device is now learned in the app or access point and you can start the setup, which opens automatically immediately afterwards. You can now assign the HmIP-BSM to a room and give it a device name of your choice. In the last step, simply select the “Light and shade” function and the setup is complete.

Nutzung per Sprachbefehl mit Alexa
If you have already linked the Homematic skill in Alexa, your Switch-Measure-Actuator is already automatically connected and can even be used by voice command. Without any further settings, you can now switch your light on and off by using the exact name of the room or the HmIP-BSM, in this case e.g:
“Alexa, hallway on” or ”Alexa, switch-measurement actuator for brand switch on”
However, if you have several devices in the “hallway” room, for example, Alexa will have problems with the assignment, which is why we can and should use routines in the Alexa app to store individual voice commands. You are really completely free in the design of these commands, for example, you can also use one command to switch several lamps on or off, e.g. if you want to switch two different circuits in the hallway with a single command. In this example, I can now use the voice command “Alexa, hallway on” to activate the upper and lower lamps in my hallway:

Conclusion
Making a changeover switch smart with Homematic IP is a sensible and forward-looking investment for your home. The smart solution opens up many advantages and application options that make your life easier and more convenient. The integration of Homematic IP guarantees reliable and secure control of the lighting in your house or apartment. Once the components have been successfully installed and set up, you can operate your lighting conveniently via app or voice control and even create schedules or integrate a motion detector. By automating the changeover switching, you not only save time and effort, but also energy and therefore money. With Homematic IP, you have control over your home and can customize it to your liking.
To summarize, Homematic IP makes it very easy to make an existing changeover switch smart and integrate it into the home automation system. You should be familiar with the basics of changeover switching before you start setting it up.
Another advantage is that you can access the cross or toggle switch via the app when you are out and about and therefore have control at all times. All in all, a smart cross or toggle switch with Hm-IP offers numerous advantages and is a worthwhile investment for anyone who wants to make their home smart.
Note: This article is intended exclusively for electrical engineering specialists and I do not guarantee the completeness or correctness of the content. Working with electric current is life-threatening!

Comments